Tired of reaching for that carton of almond milk only to decipher a lengthy list of unpronounceable ingredients? You're not alone. Many commercially available almond milks, while convenient, often contain additives, emulsifiers, thickeners, and preservatives that detract from their natural goodness. What if we told you there's a simple, delicious, and incredibly rewarding alternative right at your fingertips? Learning how to make homemade almond milk is a game-changer for your health, your palate, and your wallet.
Imagine a velvety smooth, naturally sweet, and incredibly fresh almond milk that tastes infinitely better than anything you’ve bought from the store. This comprehensive guide will walk you through every step, empowering you to ditch the additives and boost the pure flavor of your daily sips. Get ready to transform your morning coffee, smoothies, and cereal with the purest, freshest almond milk you've ever tasted.
Why Ditch Store-Bought? The Unbeatable Benefits of Homemade Almond Milk
The allure of homemade almond milk extends far beyond just freshness. It's about taking control of what you consume and embracing a healthier lifestyle. Here's why making your own is a superior choice:
- No Unwanted Additives: This is arguably the biggest selling point. Store-bought almond milk often contains carrageenan, gellan gum, sunflower lecithin, and other stabilizers to achieve a consistent texture and extend shelf life. While generally recognized as safe, some individuals report digestive issues or prefer to avoid them entirely. Homemade almond milk contains only what you put in it – pure almonds, water, and natural flavorings.
- Superior Taste and Creaminess: Once you taste homemade, there's no going back. The flavor is richer, nuttier, and incredibly fresh. Plus, you control the almond-to-water ratio, allowing you to achieve your desired level of creaminess, from light and refreshing to decadently thick.
- Nutritional Clarity: Almonds are packed with nutrients like vitamin E, magnesium, and healthy fats. While store-bought versions are often fortified with calcium and vitamin D, homemade provides the natural benefits of almonds without any synthetic additions. It's also naturally lactose-free, lower in calories than dairy milk, and a great choice for those with dietary restrictions or preferences.
- Cost-Effective in the Long Run: While a bag of raw almonds might seem like an initial investment, a single cup of almonds can yield a whole liter of milk, making it surprisingly economical over time, especially if you consume almond milk regularly.
- Empowering Customization: Fancy a hint of cinnamon? A touch of vanilla? A natural sweetener like dates or maple syrup? With homemade almond milk, you are the artisan. You can tailor the flavor profile to perfectly match your preferences.
Essential Ingredients & Ratios: Your Almond Milk Foundation
The beauty of homemade almond milk lies in its simplicity. You don't need a pantry full of exotic ingredients. Here’s what you’ll need to get started:
Main Ingredients for Almond Milk:
- Raw Almonds: Opt for high-quality, unsalted, raw almonds. Blanched almonds can also work, but raw almonds offer the best texture and flavor.
- Filtered Water: Since water makes up the bulk of your milk, using good quality filtered water will significantly enhance the taste.
- Flavorings & Sweeteners (Optional but Recommended):
- A Pinch of Salt: A tiny bit of sea salt or Himalayan pink salt enhances the natural sweetness of the almonds and balances the flavor.
- Vanilla Extract: Pure vanilla extract adds a beautiful depth and aroma.
- Cinnamon Powder: A dash of cinnamon complements the almond flavor wonderfully, especially for chai tea or coffee.
- Natural Sweeteners: Maple syrup, agave nectar, pitted dates, or a touch of honey are excellent options. Add these after straining, to taste. Granulated sugar can also be used.
Crafting Your Ideal Creaminess: Almond to Water Ratio
This is where you get to truly personalize your almond milk. The ratio of almonds to water dictates the richness and creaminess of your final product. The standard recommendation is usually:
- 1 cup of raw almonds to 4 cups of water: This yields a lovely, refreshing almond milk that's comparable to many store-bought varieties. It’s also the most cost-effective option.
- 2 cups of raw almonds to 4 cups of water: For those who crave a richer, thicker, and more luxurious almond milk, doubling the almonds makes a significant difference. This is often preferred for coffee or recipes where a creamier texture is desired.
Don't be afraid to experiment! Start with the 1:4 ratio, and if you find it too thin, increase the almonds next time. Remember, 1 cup of water is approximately 250ml, so 4 cups of water equates to 1 liter of milk. This means you only need 1-2 cups of almonds to yield a full liter of fresh, homemade goodness. For more detailed guidance on adjusting ratios and achieving your desired consistency, check out our article: Craft Your Perfect Almond Milk: Rich, Creamy, & Additive-Free.
Step-by-Step Guide: How to Make Homemade Almond Milk
Ready to transform humble almonds into liquid gold? Follow these simple steps to master the art of homemade almond milk.
Step 1: Soaking Your Almonds for Optimal Creaminess
Soaking is a crucial first step for several reasons: it softens the almonds, making them easier to blend into a creamy consistency; it can improve digestibility by breaking down enzyme inhibitors; and it contributes to a smoother, less grainy milk.
- Measure & Place: Measure your desired amount of raw almonds (e.g., 1 or 2 cups) and place them in a bowl or jar.
- Cover with Water: Pour enough fresh water over the almonds to ensure they are fully submerged, with at least an inch or two of extra water above them.
- Soak: Allow the almonds to soak for a minimum of 6 hours, and ideally for 8-12 hours, or even overnight. They will swell considerably as they absorb water.
- Drain & Rinse: Once soaked, drain the soaking water completely. Discard this water as it may contain enzyme inhibitors. Rinse the almonds thoroughly under cold running water. They should now feel soft and plump.
Step 2: Blending for Velvety Smoothness
This is where the magic happens! A high-speed blender will give you the best results, ensuring a truly smooth and creamy milk.
- Combine Ingredients: Transfer the rinsed, soaked almonds to your blender. Add 4 cups of fresh filtered water. Now, include your optional flavorings: a pinch of salt, 1/4 teaspoon of cinnamon powder, and 1 tablespoon of vanilla extract.
- Blend on High: Secure the lid and blend on high speed for 1 to 2 minutes. You're looking for a frothy, opaque, creamy white liquid. The longer you blend (within reason), the smoother and creamier your milk will be. You want to ensure the almonds are completely pulverized.
Step 3: Straining for Silky Perfection (or Enjoying Grainy Goodness!)
To achieve that luxurious, silky texture, straining is essential. However, some people enjoy the slightly grainy texture of unstrained almond milk – it's all about personal preference!
- Prepare for Straining: Place a fine-mesh sieve over a large bowl. Line the sieve with a nut milk bag or several layers of cheesecloth (muslin cloth works well too).
- Pour & Strain: Carefully pour the blended almond mixture into the prepared nut milk bag/cloth. Allow the liquid to drain naturally into the bowl.
- Squeeze for Every Drop: Once most of the liquid has passed through, gather the edges of the nut milk bag or cloth and twist or squeeze firmly to extract every last drop of almond milk. Be gentle but firm! The remaining solid pulp can be saved for other uses (more on that later!).
Step 4: Sweeten, Store, and Savor!
Almost there! Now it's time to perfect your batch and prepare it for enjoyment.
- Taste & Sweeten: Taste your freshly strained almond milk. If you prefer it sweeter, add your chosen sweetener (e.g., 1/2 to 1 tablespoon of maple syrup, honey, or agave nectar) and stir until fully dissolved.
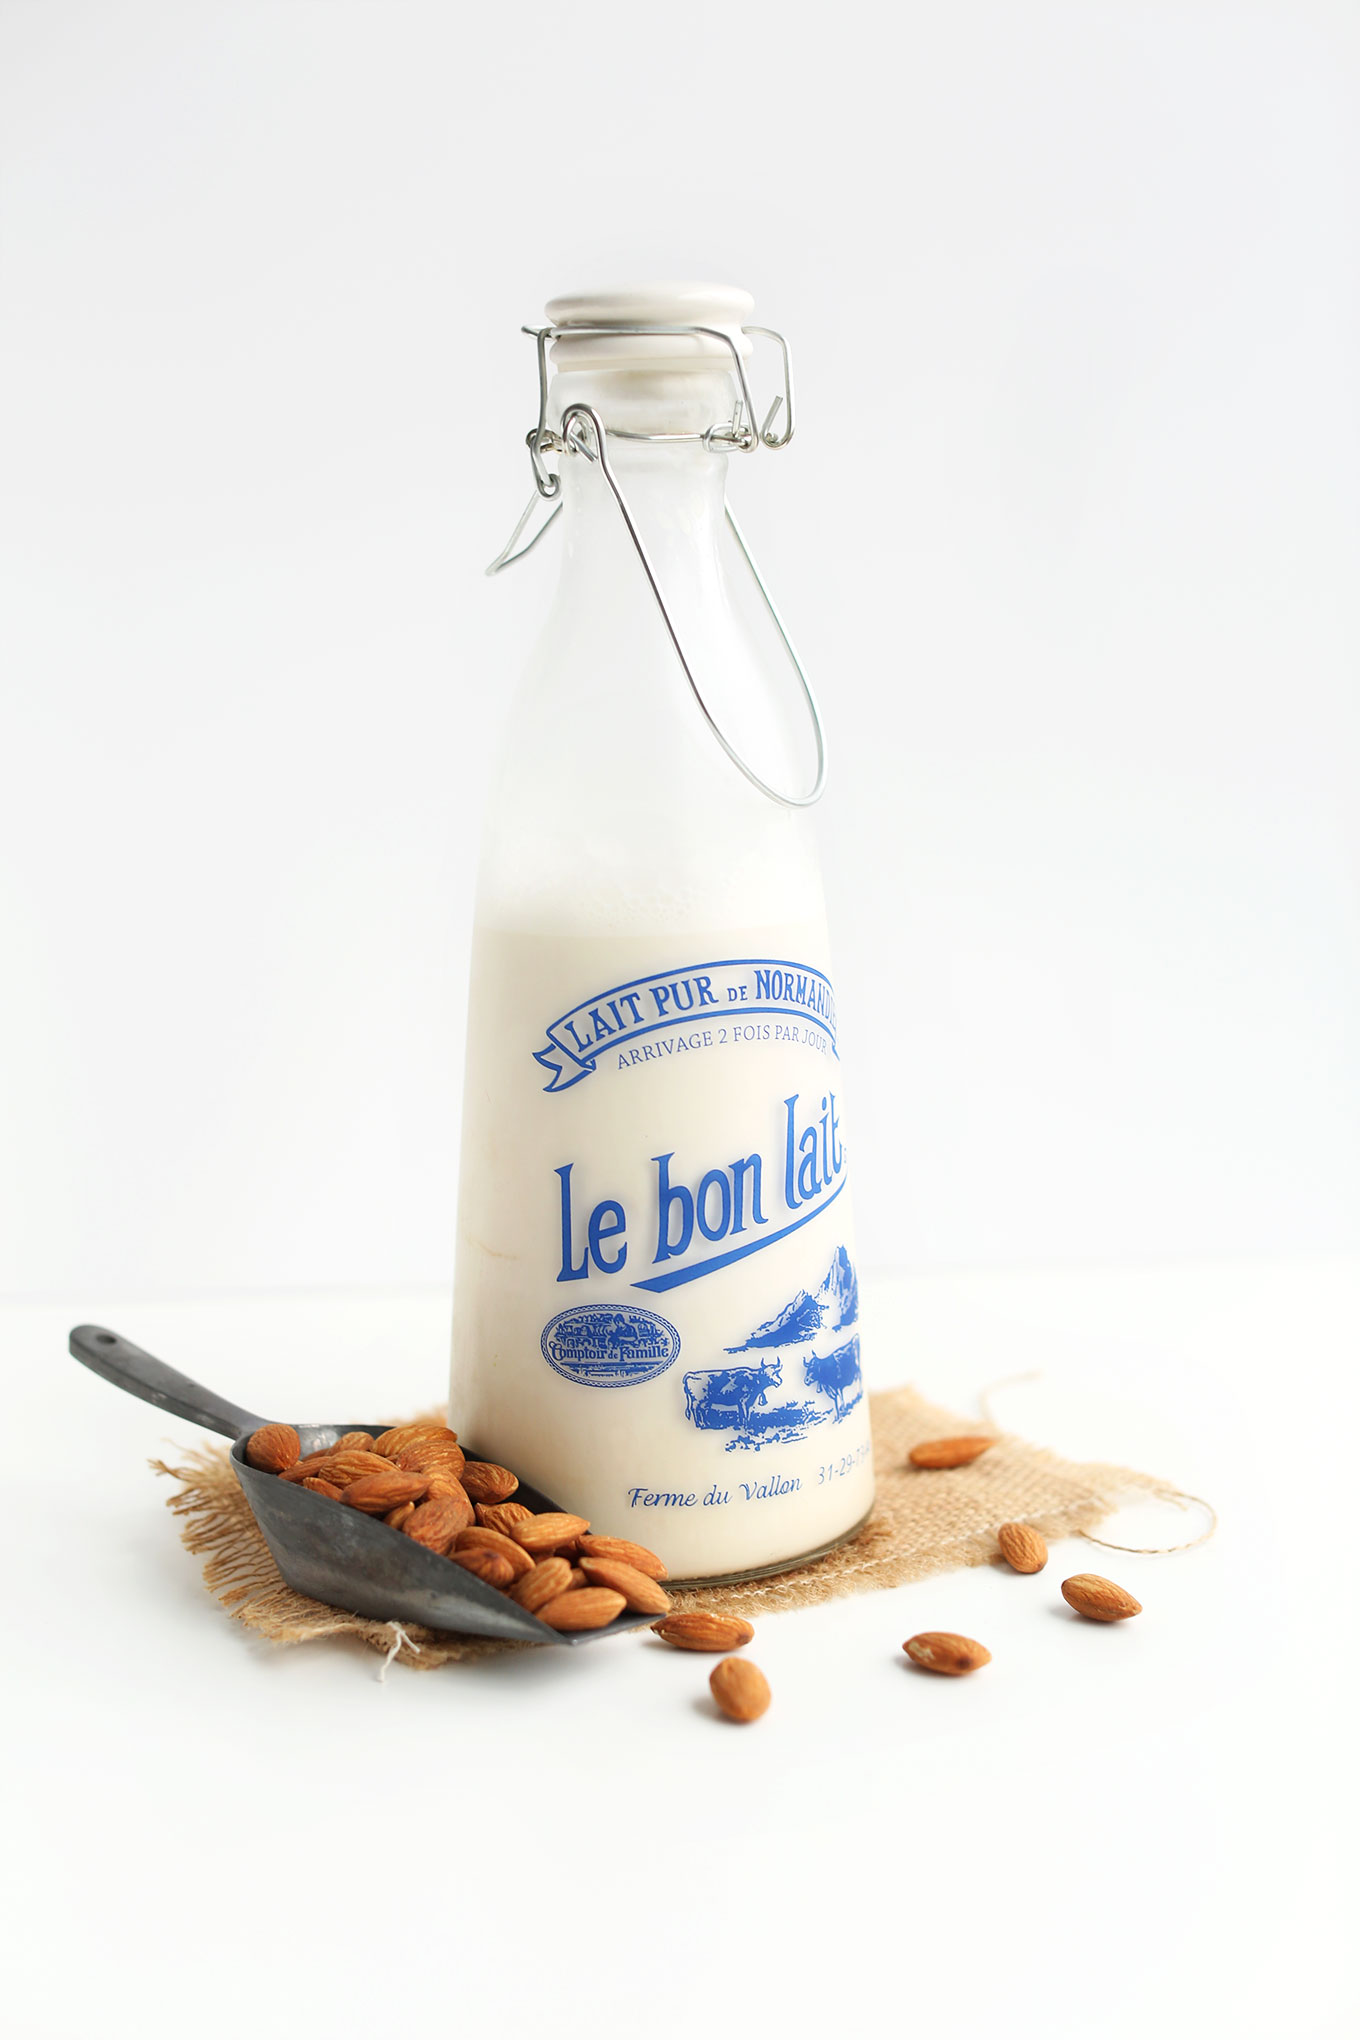
- Store Properly: Pour your homemade almond milk into a clean, airtight glass jar or bottle. A glass bottle with a swing-top lid works wonderfully.
- Refrigerate & Enjoy: Store your almond milk in the refrigerator. It will typically last for 3-5 days. Always give it a good shake before serving, as natural separation is normal.
Your fresh, homemade almond milk is perfect for pouring over cereal, blending into smoothies, adding to your morning coffee, or elevating your chai tea. For even more ways to enjoy and make your almond milk stand out, read our article: Make Creamy Homemade Almond Milk: Better Than Store-Bought!.
Troubleshooting & Advanced Tips for Almond Milk Mastery
While making homemade almond milk is straightforward, a few tips and tricks can elevate your experience and solve common questions.
Dealing with Almond Pulp: Don't Waste It!
The leftover almond pulp is a valuable byproduct, not waste! It's still packed with fiber and nutrients.
- Baking: Use it in muffins, cookies, or bread for added texture and nutrition.
- Smoothies: Toss a spoonful into your morning smoothie.
- Crackers: Dehydrate it with some seasonings to make savory almond pulp crackers.
- Energy Bites: Combine with dates, oats, and other nuts for no-bake energy bites.
Store the pulp in an airtight container in the fridge for up to 2-3 days, or freeze it for longer storage.
Common Questions & Solutions:
- "Why is my almond milk separating?" This is completely normal! Unlike store-bought versions with stabilizers, homemade almond milk will naturally separate into a water layer and a creamier almond layer. Just give it a good shake before each use.
- "My milk tastes too thin/watery." Next time, reduce the amount of water or increase the amount of almonds (e.g., move from 1 cup almonds to 1.5 or 2 cups per 4 cups of water). Ensuring adequate soaking time also contributes to a creamier texture.
- "I don't have a nut milk bag." While a nut milk bag is ideal, you can use several layers of cheesecloth (muslin cloth), a clean thin tea towel, or even a very fine-mesh strainer. Just be prepared for a bit more squeezing and potentially less efficient straining with alternative methods.
Flavor Variations to Inspire You:
- Chocolate Almond Milk: Add 1-2 tablespoons of unsweetened cocoa powder during the blending phase.
- Date-Sweetened: For a natural caramel-like sweetness, blend 2-3 pitted Medjool dates with your almonds and water.
- Spiced Milk: Experiment with a pinch of cardamom, nutmeg, or a dash of pumpkin pie spice for seasonal twists.
- Mint Chocolate: Add a drop or two of food-grade peppermint extract along with cocoa powder for a delightful treat.
Making your own almond milk is a simple act of self-care and culinary empowerment. It removes mystery ingredients from your diet, puts you in control of the flavor and texture, and consistently delivers a superior product.
Embrace the joy of truly fresh, delicious, and additive-free almond milk. With this guide on how to make homemade almond milk, you have all the knowledge and tips to create a batch that will elevate your everyday sips and dishes. So, grab those almonds, fire up your blender, and experience the pure, unadulterated goodness of homemade! Your taste buds (and your body) will thank you.
